This DIY puzzle storage mat is ideal for keeping your children busy when you are out of the house. Children love to play with puzzle mats and it keeps them engaged and away from screens. It will help to build their mental skills as well as their dexterity and coordination.
DIY Puzzle Storage Mat

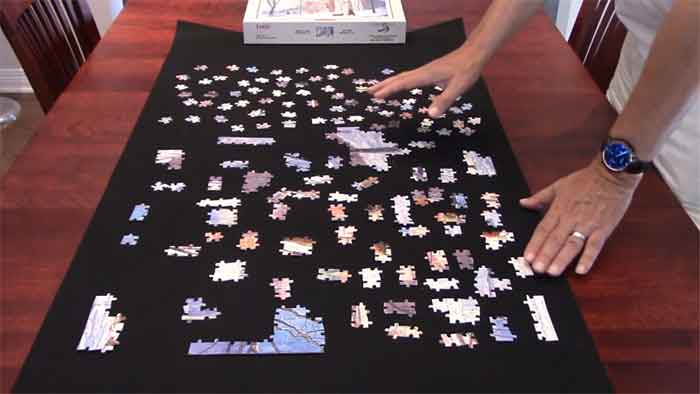
A little fabric to protect the floor, then-
- Take your measurements and cut out two pieces of felt that are about 1 inch larger than the size of the piece you want to store. I used this picture as a guide but feel free to measure it out on paper before cutting it out, just in case you make a mistake.
- Cut 2 pieces of fabric large enough for your puzzle board (use this image if needed). You can use a pillowcase if you want to make it easier.
- Place the pieces of felt over the top of your fabric and pin them in place, then sew them together with a zigzag stitch or serge on one side. I used this tutorial for help with my sewing machine but feel free to use whatever method you are comfortable with.
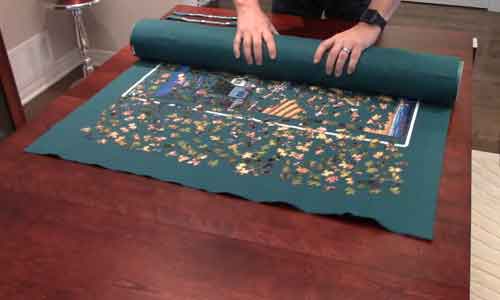
- Once you have sewn all the way around, flip the puzzle board inside out and put it on top of the felt and sew it shut.
- Flip the puzzle board right side out and place it inside your fabric cover with a pillowcase underneath to protect your floor from any loose pieces that may come off during play time.
DIY Storage Mat for Puzzles
My son is very into puzzles right now. We have a lot of them and I love that they are fun to play with, but the pieces are really big so it’s hard for him to carry them around without dropping one or two. This DIY storage mat has been perfect for us!
How to Make a Toy Organizer?
This toy organizer is perfect for little ones who love stacking, sorting and playing with toys. It’s made from one large foam sheet which makes it very sturdy and easy to put together. The sheets are already cut out into slots that fit perfectly over the legs of your table or shelf, making it simple to place them where you want them. We’ve used ours on top of our bookshelf at home and it’s been great! I made a video tutorial to show you how we put ours together.
Make an Organizing Board Game Tray
This is a great way to help your child develop their fine motor skills and increase their hand-eye coordination. It’s also a fun activity for you and your child to do together! Here are the steps:
- Cut out three pieces of felt, one for each side of the board game tray. You can use an iron-on template if you want or just cut them out with scissors or paper cutter. I recommend doing this outside on a flat surface because the felt will be very hot.
- Place one piece of felt onto each side of the board game tray and then use your iron to adhere them in place. Iron them for about 5 seconds, being careful not to burn you or melt any parts of the felt. Make sure you have something underneath so that if any pieces fall off they don’t get caught under your table or other items on your floor!
Conclusion
Hope you like this post. Thanks for reading this post. I would be happy if you share this blog with your friends and family. This blog is about how to make own puzzle storage mat, hope you like it. Thank you for visiting my blog.